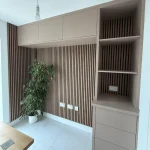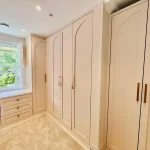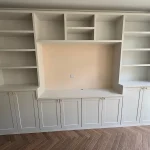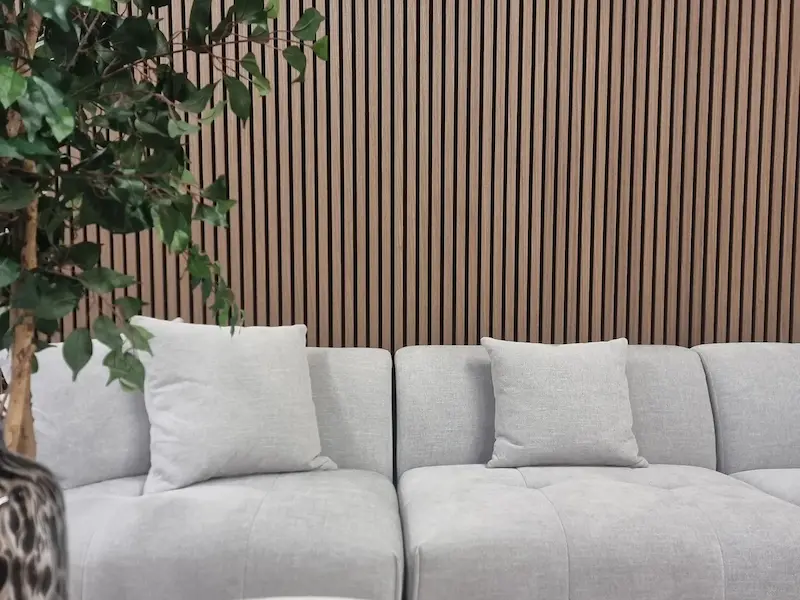
How to coordinate slatted feature walls, fitted furniture and joinery for a cleaner, more considered finish.
The best panel-and-joinery schemes are planned as one installation. Aligning levels, edges, access points and finishes before work begins usually creates a result that looks intentional rather than added later.
Acoustic slatted wall panels are often chosen for the warmth, texture and rhythm they bring to a room. Bespoke carpentry can add the practical layer: fitted storage, media units, shelving, desks, radiator covers or made-to-measure trims. When both elements are designed together, they can turn a plain wall into a feature that is visually balanced, useful and easier to maintain. Based in London, The Panel & Paper Company supports homeowners, installers and trade customers across the capital while supplying wall panels and accessories to customers nationwide.
Start with the full wall, not separate products
Before panels are ordered or cabinetry is built, measure the entire elevation and mark the important fixed points. These normally include floor and ceiling levels, sockets, switches, radiators, skirting, doors, televisions and any existing service access. Older properties are rarely perfectly square, so measurements should be taken at several heights rather than relying on one figure.
Agreeing a datum line is particularly useful. It gives the carpenter and panel installer one common reference for the top of a media unit, shelves, panel edges and lighting. It also helps prevent a narrow, awkward strip of panel appearing beside a cabinet or in a visible corner. Where possible, design the slat layout so the first and last cuts feel balanced.
Build fitted furniture into the panel layout
A media wall is a good example of where sequencing matters. The final television position, cabinet depth and cable routes should be confirmed before the feature wall is closed up. If a floating unit is being fitted, the supporting structure and fixings must be suitable for the load; decorative felt-backed panels should not be treated as structural support.
There are two common approaches. Panels can run behind a wall-mounted cabinet for an uninterrupted finish, or they can be cut neatly around fitted furniture so the unit sits against the substrate. The right option depends on access, future removal, the fixing method and the intended shadow gap. A carpenter can also produce matching end pieces, scribes or trims where a factory panel edge would otherwise remain visible.
Choose finishes that complement rather than compete
Wood tones do not have to match exactly, but their undertones should work together. A warm walnut slat can sit comfortably with dark painted joinery, while a pale oak finish can soften white or neutral cabinetry. Black and grey panels are often effective behind screens or shelving because they reduce visual contrast around technology and conceal dark cables more easily.
Order a sample and view it in the actual room during the day and under artificial lighting. Flooring, paint, cabinet finishes and LED colour temperature can all change how a veneer appears. It is better to make that decision before multiple panels are cut or a bespoke unit is sprayed.
Customer-favourite finishes to consider
For broad customer appeal, three finishes are especially easy to recommend. Walnut adds natural warmth, White Oak keeps a scheme bright and relaxed, and Black Oak (also known as Charcoal Black) creates a strong architectural backdrop.
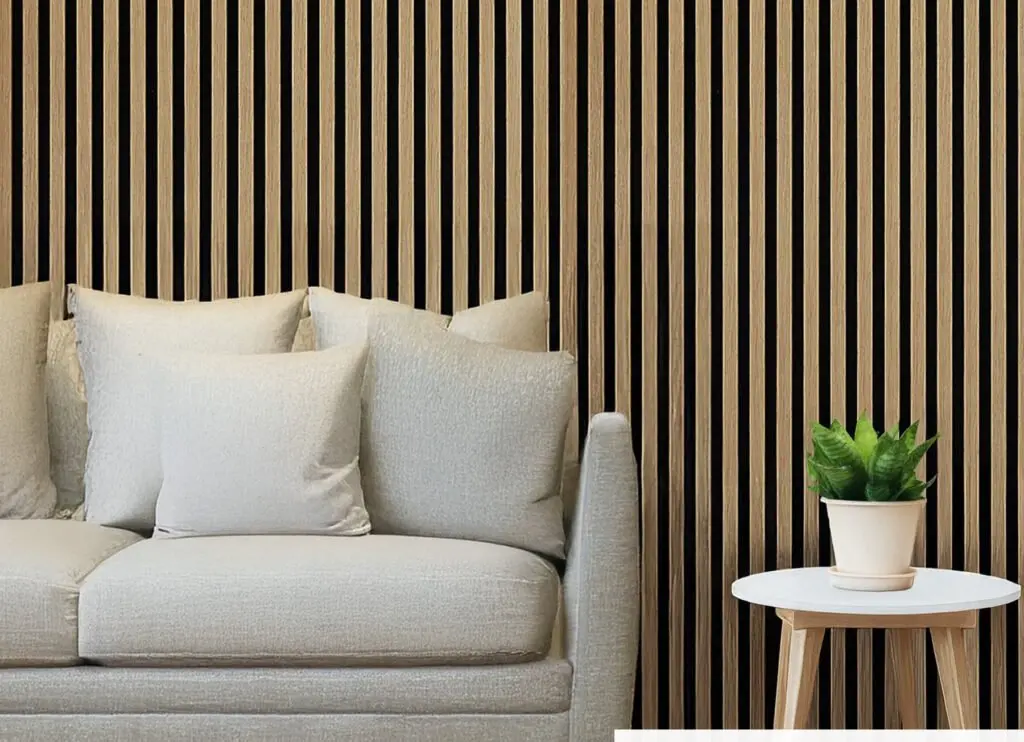
A versatle warm finish for living rooms, fitted shelving and natural timber joinery.
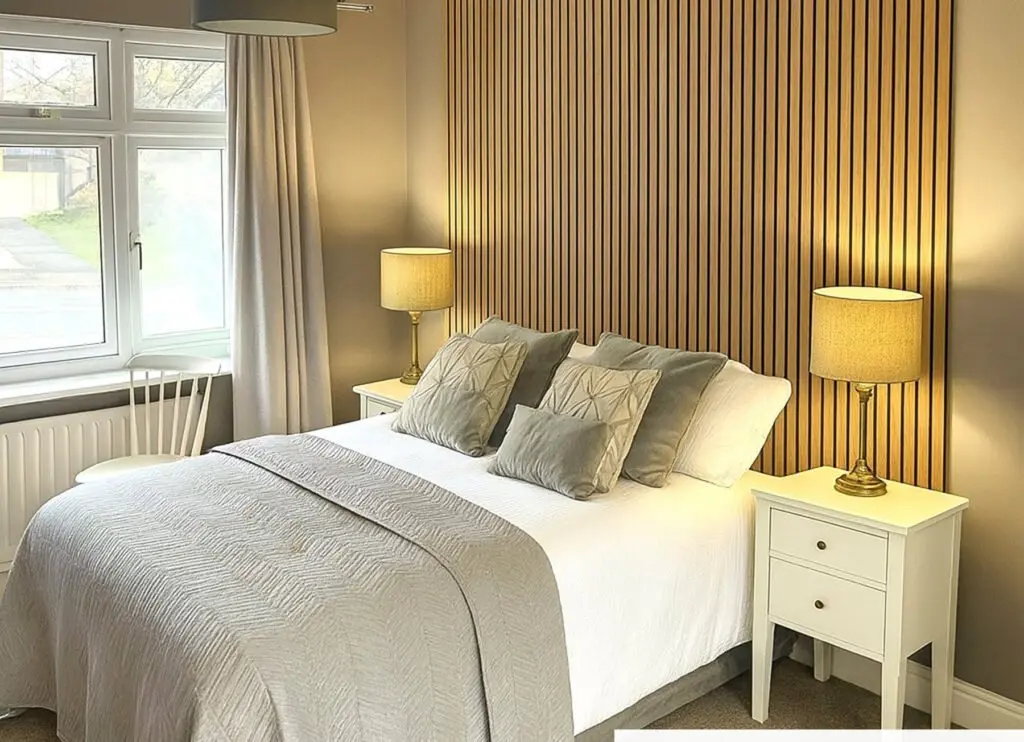
A lighter option for bedrooms, smaller rooms and calm neutral interiors.
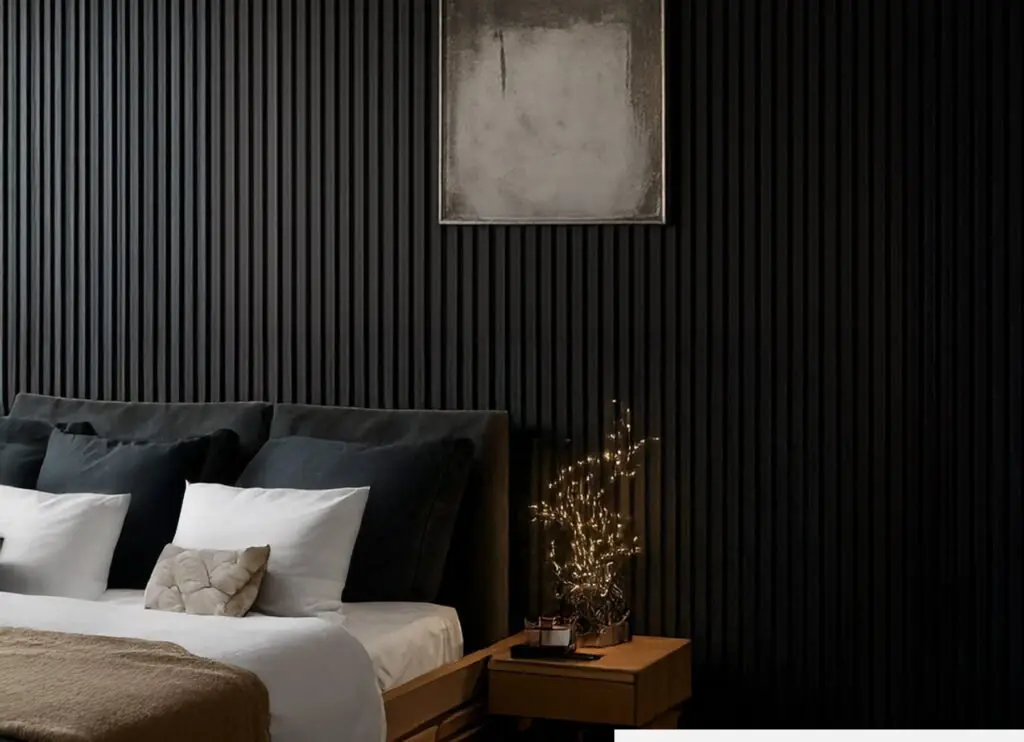
A bold choice for media walls, cinema rooms and darker contemporary cabinetry
Also consider: Dark Oak for a deeper traditional warmth, or Grey for cooler modern offices and monochrome rooms. The final choice should still be checked with a physical sample in the room’s natural and artificial light.
Plan cutting, adhesive and access
Most slatted panels can be trimmed to suit the wall, but the correct cutting method depends on the panel construction and the direction of the cut. Measure twice, support the material properly and protect the decorative face. Cut-outs for sockets should be planned carefully so faceplates sit flat and remain accessible. Electrical work must be completed by a suitably qualified person.
The wall surface should be sound, clean and reasonably level. A suitable high-grab panel adhesive is commonly used for a direct installation, sometimes combined with mechanical fixings where the substrate or project specification requires them. Adhesive choice, preparation and curing instructions should always follow the product guidance. Leave access panels where valves, cable connections or services may need future attention.
Use lighting as part of the joinery plan
LED strips can emphasise the vertical lines of a slatted wall, but they should be coordinated with the cabinetry rather than added at the end. Decide where drivers, transformers and controls will be hidden, how they can be reached for maintenance, and whether the light should wash across the panel or sit within selected gaps. Warm white light usually suits walnut and oak tones; cooler light can sharpen grey, black and contemporary white schemes.
Where the combination works particularly well
Living rooms and cinema rooms benefit from the strong focal point created by a panelled media wall. Home offices can combine a slatted backdrop with a fitted desk and closed storage, giving video-call backgrounds more depth while keeping practical items organised. Hallways, reception areas and restaurants can use panels around benches, counters or display joinery to add texture without sacrificing floor space.
Panels can help reduce some reflected sound and soften the feel of a room, but they should not be described as a complete soundproofing system. Projects with demanding acoustic requirements may need specialist assessment, additional insulation or a tested wall build-up. Clear expectations protect both the installer and the customer.
When an experienced carpenter adds value
Straightforward panel installation can be suitable for a confident DIY customer, but fitted furniture and irregular rooms quickly introduce more demanding details. An experienced carpenter or joiner can account for uneven walls, create precise scribes, reinforce fixing points, integrate doors or access panels and make the transition between products look deliberate. This is especially valuable where expensive cabinetry, electrics or large screens are involved.
A practical route from idea to finished room
Start with a scaled wall drawing and the items that cannot move. Confirm the panel finish with a sample, decide the joinery proportions, then finalise service routes and installation order. Keep spare offcuts for testing adhesive, colour matching or future repairs. Before completion, check that sockets, ventilation, hinges, doors and removable panels all operate without obstruction.
The result to aim for: panels, furniture and lighting that share the same lines, proportions and practical access strategy. Good coordination is what makes separate materials read as one finished interior.
Explore acoustic wall panel finishes
The Panel & Paper Company supplies acoustic wall panels in a range of wood, dark and decorative finishes. Browse the acoustic wall panel collection from The Panel & Paper Company for current products, samples and installation accessories. Customers in London can also ask for local product guidance and help planning quantities, while nationwide customers can order panels, samples and accessories for delivery across the UK.